
Guides/Planning·9 min read·Updated September 4, 2026
The tools, the technique for eaves, gables, peaks and returns, the allowances for corners and offcuts, and how to turn a total in feet into C9 bulbs at 12 inch spacing or a permanent kit size, with a worked example for a two-storey Ontario home.
Key takeaways
- 1Measure every straight section separately, write each one down, and add them up at the end; a single total is useless when you need to know which lengths of wire go where.
- 2Gables are the part people get wrong: measure the two sloped edges, not the width across the bottom, and remember each peak has two sides.
- 3Add roughly ten percent for corners, drops to outlets, and offcuts, and round up to the next available pack or kit size rather than down.
- 4At 12 inch socket spacing a C9 run needs one bulb per foot, so feet of roofline is your bulb count; a 25 pack covers a short section and a 500 pack covers a whole house with spares.
- 5Permanent kits are sold in 50 ft steps from 50 to 250 ft, so once you have your total in feet the kit size is the next step up.
Ordering lights without measuring is how people end up with a dark gap over the garage or three hundred feet of spare wire in the basement. The measuring itself takes half an hour and needs nothing more exotic than a tape measure and a notepad. This guide covers the tools, how to handle each part of a typical Canadian roofline, the allowances to add, and then the arithmetic to convert your total into C9 bulbs and socket wire for a seasonal display or into a kit size for a permanent LED track. A worked example for a two-storey home ties it all together.
Tools that make it easy
- A 25 or 30 ft tape measure for ground-level and single-storey runs.
- A laser distance measure for two-storey eaves and gable peaks; aim it from the ground at the corners and it saves a ladder trip entirely.
- A notepad or a phone note, plus a rough sketch of the house from the front with each section labelled.
- A satellite or property-listing view of the roof for confirming the footprint dimensions; it is a check, not a substitute for measuring.
Sketch first, then measure
Stand at the curb and draw the front of the house as simple straight lines: the long eave, each gable as a triangle, the garage face, any porch roof or bay window, and the short returns where a roofline turns the corner and comes back. Label each line with a letter. As you measure, write the number beside the letter. This keeps eave, gable and return lengths separate, which matters later because a seasonal display might use one continuous run of socket wire across the eave and a separate short run on a gable, and a permanent install needs to know where the extension connectors will bridge gaps.
Eaves
Eaves are the horizontal edges of the roof and the easiest to measure. On a single storey, hook the tape at one corner and walk it to the other. On a two-storey, use the laser from the ground, or measure the wall beneath the eave at ground level since the eave runs the same length plus the overhang at each end. Add the overhang on both ends if you plan to light the full edge. Measure each eave section as its own line; if the front eave is broken by a gable, you have two eave sections and one gable, not one long eave.
Gables and peaks
A gable is the triangular end of a pitched roof, and lights follow its two sloped edges up to the peak and back down. The mistake to avoid is measuring the width across the bottom and calling that the gable length. You need the length of each sloped edge, and there are two of them. If you can safely reach the bottom corner and the peak with a laser, measure the slope directly. If not, measure the width across the bottom and the height from the bottom of the gable to the peak, then use the standard right-triangle rule: half the width squared plus the height squared, square root, gives one sloped edge. Double it for both sides.
Dormers are small gables and are measured the same way, and a dormer that you want fully outlined needs its short side eaves counted as well.
Returns, porches and garages
A return is the short section where a roofline wraps a corner before it ends, common at the ends of front gables and at garage corners. They are short, usually a couple of feet, and easy to forget, but a lit eave that stops dead at a corner while the return stays dark looks unfinished. Measure each one. Attached garages typically have a long straight eave across the door and a short return at each end; treat them as separate lines on your sketch.
Allowances for corners, drops and offcuts
Your measured total is the length of roofline you want lit. It is not the length of wire or track you need to buy. Every corner uses a few inches to turn, every run needs a drop from the roofline down to the outlet or to the power supply, and cutting socket wire to length leaves offcuts. Add about ten percent to your total for a seasonal C9 display. For a permanent kit, the track itself does not need extra because corners and gaps are bridged with extension connectors rather than track, but you do need the connectors, so note each gap and its rough length on your sketch.
Converting feet into C9 bulbs and wire
Seasonal C9 displays use empty socket wire with a bulb screwed into each socket. Our C7/C9 socket wire has 12 inch spacing, so each foot of wire carries one socket and needs one bulb. That makes the conversion about as simple as it gets: your total roofline in feet, plus the allowance, is your bulb count. A 25 pack covers a porch or a small gable. A 500 pack covers a large two-storey home with enough left over for spares, or two or three average homes if you are an installer. Socket wire comes in 120 ft spools for a single home and 1000 ft spools for installers, in green or white to blend with the fascia.
- Bulbs: one C9 per foot of lit roofline, plus a handful of spares for the season.
- Socket wire: the same footage plus the ten percent allowance, rounded up to 120 ft spools or a 1000 ft spool.
- Feed wire: plain SPT-2 18 AWG wire for the drop from the roofline to the outlet and for any dark jumps between sections; available in 250 ft and 500 ft spools in white, black or green.
- Plugs: one male and one female SPT-2 vampire plug per run, plus a pair for each extra section fed separately.
- Clips: one clip per bulb, matched to the roof edge; shingle-tab clips for shingles, parapet clips for flat commercial edges, universal or duckbill clips for gutters and fascia.
Converting feet into a permanent kit size
Permanent 12 V kits are sold by lit length, from 50 ft up to 250 ft in 50 ft steps. Take your measured total of the sections you want tracked, without the ten percent allowance, and choose the next kit size up. Each 42 inch track piece carries five RGBW pucks, so a 100 ft kit is roughly 29 pieces and a 150 ft kit roughly 43. The gaps between sections, at corners, across garage doors, and between gables, are bridged with 1, 5, 10 or 20 ft extension connectors and do not consume track. Count those gaps from your sketch and add the connectors to the order. If the total is 150 ft or more, or the layout branches through several gables, add a power injection cable and look at whether the data amplifier makes sense; our guide on power injection covers that decision.
Common mistakes
- Measuring a gable across the bottom instead of along both sloped edges, which undercounts by a third or more.
- Forgetting returns and dormers, then discovering the dark corners on the first night.
- Counting only the lit length and not the drop to the outlet, then running out of wire two feet short of the plug.
- Buying one long spool for a house that really needs two separate runs, each with its own plug and clip layout.
- Trusting a satellite footprint for gable lengths; the overhead view flattens the roof and hides the slope entirely.
- Rounding down to save a few dollars, which is the most expensive mistake on this list.
A worked example: two-storey home with a garage and two gables
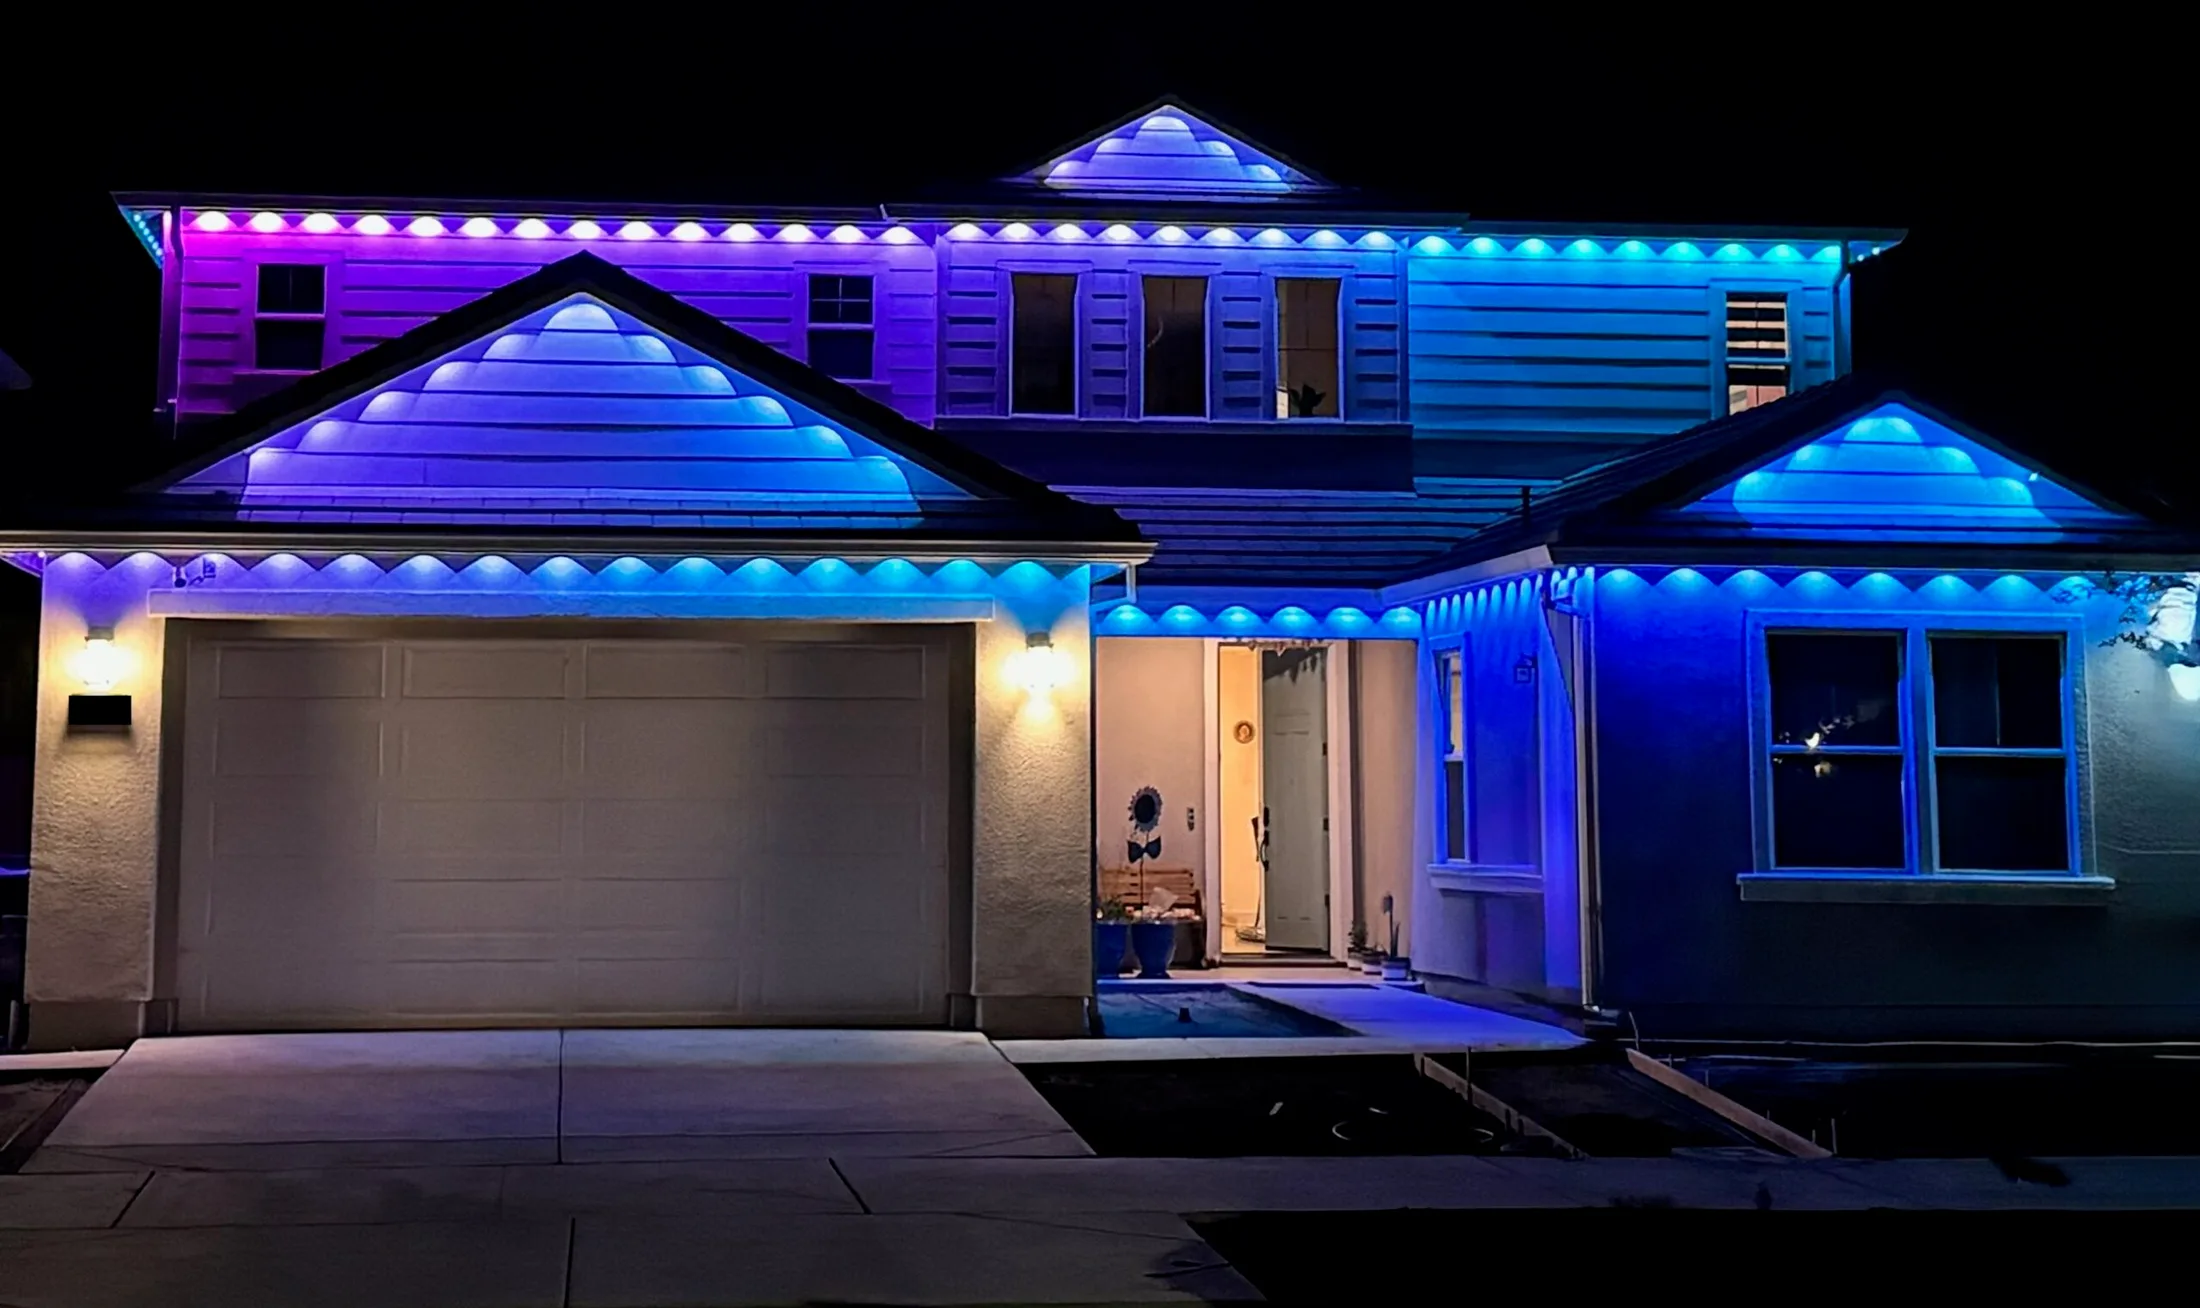
Picture a common Ontario subdivision house: a two-storey with a front eave broken by two gables, an attached double garage set slightly forward, and a small porch roof over the front door. The homeowner wants the front fully outlined and the garage face lit, but not the sides or back. Here is how the sketch and the measurements might come out.
- A: Left front eave, second storey, corner to first gable: 14 ft.
- B: First gable, both sloped edges: 11 ft each side, so 22 ft.
- C: Middle front eave between the gables: 10 ft.
- D: Second gable, both sloped edges: 13 ft each side, so 26 ft.
- E: Right front eave to the corner, including the return: 12 ft.
- F: Porch roof, three lit edges: 8 ft across the front and 3 ft on each side, so 14 ft.
- G: Garage eave across the doors, corner to corner: 24 ft.
- H: Two garage returns: 2 ft each, so 4 ft.
Adding those up gives 126 ft of lit roofline. For a seasonal C9 display, add ten percent for corners, drops and offcuts, which brings the wire need to about 139 ft. That is more than one 120 ft spool of socket wire, so the order is two 120 ft spools, or a 1000 ft spool if this is an installer's van rather than a homeowner's garage. Bulbs: 126 plus spares, so 150 bulbs, which is six 25 packs or, for anyone who might light another house, a 500 pack. Plugs: the eave, the porch and the garage are three logical runs, so three male and three female SPT-2 vampire plugs. Feed wire for the three drops to outlets: a 250 ft spool of SPT-2 18 AWG covers it. Clips: around 150 shingle-tab clips for the shingled edges, with a bag of universal clips for the porch gutter.
For a permanent kit on the same house, the 126 ft of lit roofline rounds up to the 150 ft kit. From the sketch there are gaps to bridge: the drop from the eave to the garage, the jump from the eave down to the porch roof, and the corners at each gable base, so the order adds a handful of 1 ft extension connectors for the corners and a 5 ft and a 10 ft for the two larger jumps. Because the run reaches 150 ft with three branches, the homeowner adds a power injection cable and places the injection point at the far garage corner.
Whether you are doing your own house or quoting your fiftieth of the season, measuring section by section and rounding up is the whole method. Once the numbers are added, the rest is choosing colours.
Frequently asked questions
How many C9 bulbs do I need per foot of roofline?
One. Our C7/C9 socket wire uses 12 inch spacing, so every foot of wire has one socket and needs one bulb. Your lit roofline length in feet is your bulb count; add a few spares for the season.
How do I measure a gable without climbing on the roof?
Measure the width across the bottom of the gable and the height from that bottom edge up to the peak, both of which you can get from the ground with a laser. Half the width squared plus the height squared, then the square root, gives one sloped edge. Double it, since a gable has two sides.
How much extra wire should I add for corners and offcuts?
About ten percent over the measured lit length for a seasonal C9 run, which covers corners, the drop down to the outlet and cutting waste. Then round up to the next spool size. Permanent track does not need the allowance because gaps are bridged with extension connectors rather than track.
What permanent kit size do I need for 126 ft of roofline?
The 150 ft kit. Kits come in 50 ft steps from 50 to 250 ft, and you round up to the next size. Count the gaps on your sketch and add the matching extension connectors, and at that length plan a power injection point as well.
Do I need separate runs or one long run for the whole house?
For seasonal lights, separate runs make sense wherever a section is fed from a different outlet or separated by a dark gap, such as the main eave, a porch roof and a garage. Each run needs its own male and female plug. For permanent track, it is one system, but the layout still branches through T-connectors and extension connectors.
Stock up
Everything in this guide ships from London, Ontario.
Installer-grade C9 bulbs, socket wire, SPT-2 spools, plugs, clips and 12V permanent lighting kits. Free Canadian shipping over $500.
Keep reading
Planning · 9 min
How Many Christmas Lights Can You Run on One Circuit? Watts, Amps and Safe Runs Explained
The plain arithmetic behind a tripped breaker: what watts and amps actually mean, why LED C9 bulbs changed the limits, how to read the rating on wire and plugs, and how to split a display so nothing runs hot.
Planning · 10 min
Starting a Christmas Light Installation Business in Canada: Stock, Pricing, Ladders and the Off-Season
How the seasonal model actually works, the handful of products a new installer really needs, building custom-length runs, pricing by the foot, ladders and insurance, storage in the off-season, and adding permanent LED kits so the business runs all year.
Buying guides · 8 min
SPT-1 vs SPT-2 Wire: Which Do You Need for Christmas Light Runs?
What the SPT-1 and SPT-2 designations actually mean, why the difference is in the jacket rather than the copper, why professional crews standardise on SPT-2 for C9 runs, and how to choose spool length and colour for your roofline.