
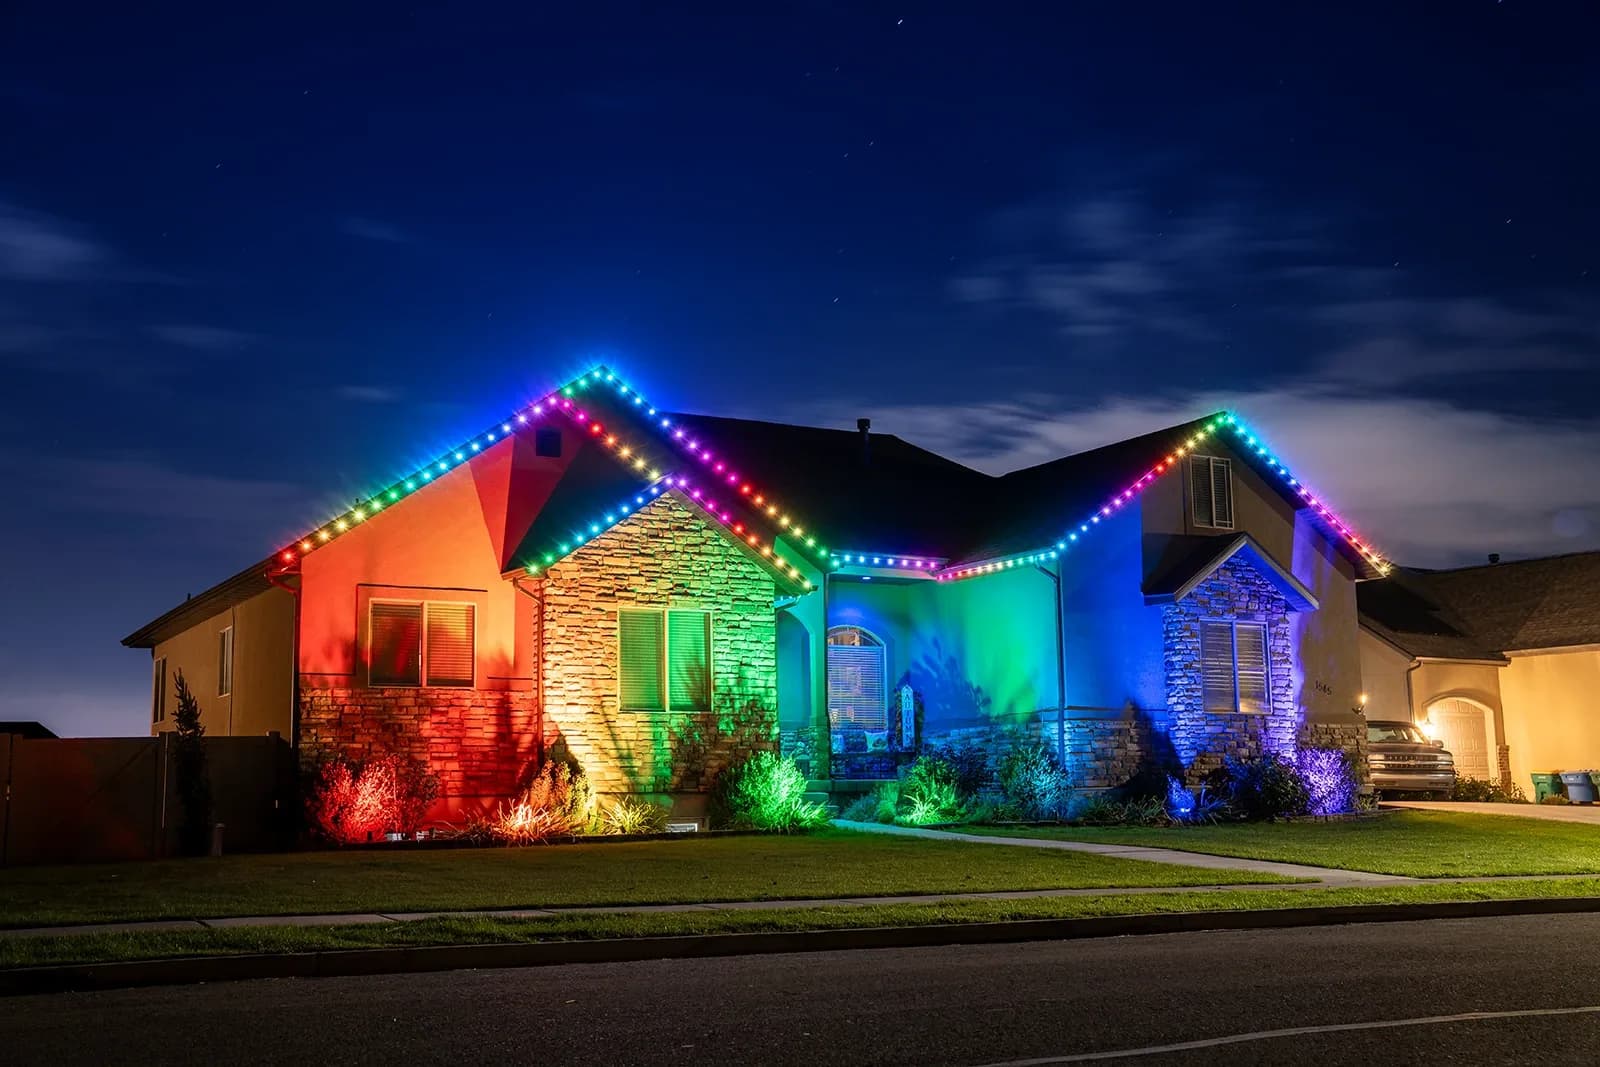
Guides/Permanent lighting·10 min read·Updated September 4, 2026
Everything a handy homeowner or first-time installer needs to put up a 12 V permanent roofline kit: planning the run, mounting the aluminum track, connecting the pieces, placing the power supply and controller, and dialing in the first night.
Key takeaways
- 1Plan and measure the whole run before ordering so the kit size, connectors and any power injection cables arrive together and you are not stuck mid-install.
- 2The aluminum track mounts to the fascia or the underside of the soffit with screws, one 42 inch piece at a time, and the pucks should face the same direction along the entire run.
- 3The 150 W power supply and WiFi controller plug into an existing outdoor GFCI outlet, which means no electrical permit and no electrician for a standard residential install.
- 4Long runs need power injection and, in some cases, the data amplifier; both are far easier to plan into the layout than to add after the track is screwed up.
- 5Pair the app, set a sunset schedule and a modest default brightness on the first night, then fine tune scenes once you have seen the house from the street.
A permanent LED roofline kit is one of the more satisfying weekend projects a homeowner can take on. The parts are low voltage, the track is light, and nothing about the job requires a licensed trade. That said, the difference between a clean install that lasts and one that sags, flickers or dims at the far end almost always comes down to planning. This guide walks through the full process for the 12 V kits we ship from London, Ontario, in the order you will actually do the work. It is written for homeowners doing their own house and for installers taking on their first few jobs.
Step 1: Plan the run on paper
Start on the sidewalk, not on the ladder. Look at the house from where visitors and neighbours see it and decide which lines you want lit. Most homes light the front eaves, the gable peaks and any returns that frame the front door. Sketch the roofline as a simple diagram and mark where the outdoor outlet is, because the track has to start somewhere close to power.
While you are outside, note the surface you will be screwing into. Aluminum or vinyl fascia over wood is the most common in Ontario subdivisions and takes screws well. Brick or stone returns need masonry anchors. A soffit that is vented aluminum with no wood behind it will need the track fastened to the fascia board instead, or to the framing at the edge of the soffit.
Step 2: Measure and choose the kit size
Measure each straight section of roofline you plan to light and add the sections up. A tape measure on the ground works for eaves; for gables, measure the horizontal width and the height to the peak, then use the diagonal, or read the length off a satellite view and confirm with a laser measure. Add a small allowance for corners and cuts. Our separate guide on measuring a roofline for lights goes into detail, including a worked example.
- Kits are sold in lengths from 50 ft up to 250 ft, so round your total up to the next size rather than down.
- Each track piece is 42 inches long and carries five RGBW pucks; the kit includes enough pieces to cover the stated length.
- Choose the track colour to blend with your fascia in daylight: black, white, wicker or brown.
- If any single run will be long or will have several branches, plan for power injection cables and possibly the data amplifier at ordering time.
Step 3: Gather tools and check the weather
- An extension ladder rated for the height, or a scaffold for two-storey work, plus a second person to foot the ladder.
- A cordless drill with driver bits, a small pilot bit, and exterior screws suited to your fascia material.
- A tape measure, a pencil, a level or chalk line, and a hacksaw or mitre saw with a fine blade if you need to trim track.
- Outdoor-rated silicone or exterior sealant for screw heads in wood fascia, and masonry anchors if you are mounting on brick.
- A dry, mild day. Do not install on wet or icy fascia, and give sealants time to cure before the first freeze.
Step 4: Mount the aluminum track
Begin at the corner closest to the outlet and work away from it. Hold the first 42 inch piece against the fascia, tucked up tight under the drip edge or shingle overhang so it is shaded from above and sits as straight as possible. Drive screws through the track's mounting points into the fascia, starting with one at each end and then adding the middle. Check with a level before the last screw goes in. Each subsequent piece butts up to the previous one, and the pucks should all face the same way, either straight down or angled slightly out toward the street, along the entire run.
Keep screw heads snug but not overtightened, since aluminum track will dimple if you crank on it. On wood fascia, a dab of exterior sealant over each screw head keeps water out.
Corners, gables and returns
At an inside or outside corner, stop the track short and jump the gap with a short extension connector rather than trying to bend anything. The 1 ft extension connector handles most corners; the 5 ft, 10 ft and 20 ft lengths carry the run across a garage door opening, around a bay window, or from one gable to the next without lighting the space between. On gables, mount the track along the rake so the pucks follow the slope, and use an extension connector at the peak to link the two sides. Trim a track piece only where you must, cutting between pucks and away from the wiring inside.
Step 5: Connect the pieces
Every piece of track and every extension connector ends in a sealed twist connector. Line up the keyway, push the halves together and turn the collar until it seats firmly. Do not rely on friction; a connector that is only finger-tight will let moisture in over a winter and is the single most common cause of a dark section a year later. Where the run splits, for example off the main eave to a gable and then back, a T-connector lets one line feed two branches. Keep each connection tucked behind or above the track where it is out of the weather and out of sight from the street.
Work in the direction of the data. The controller sends instructions down the line in one direction, so every piece has an input end and an output end. Start every section at the end nearest the controller and add pieces outward. If you connect a piece backwards it will not light, which is a handy check but a nuisance to fix once the screws are in.
Step 6: Place the power supply and controller
The 150 W power supply steps household 120 V down to the 12 V the track runs on, and the WiFi controller sits between the supply and the track. Both plug into an existing outdoor outlet. That outlet should be GFCI protected, as outdoor receptacles on Canadian homes generally are, and it should have an in-use weatherproof cover so the cord stays dry while plugged in. Because you are plugging a listed low-voltage device into an existing receptacle rather than adding wiring to the house, no electrical permit is needed for a standard residential install. If the only outlet nearby is not GFCI, have an electrician swap the receptacle; that is a small job and worth doing regardless.
Mount the power supply and controller off the ground, in a spot with some shelter from direct rain and snow if possible, and within the controller's WiFi reach of your router. Run the low-voltage lead from the controller up to the start of the track and secure it with clips so it is not dangling.
Step 7: Power injection and the amplifier on long runs
Twelve-volt systems lose a little voltage along every foot of wire, so on a long run the pucks farthest from the power supply get less than the ones nearest it. The visible result is a slow fade in brightness, and eventually a shift in colour, toward the far end. Power injection fixes this by feeding fresh 12 V into the line partway along. The kit uses a power-injection cable that ties into the run at a T and brings power from a second 150 W supply, or from the same supply on shorter layouts, so that no section is too far from a source.
The data signal has its own limit. If the run is long enough or has enough branches that the pucks at the end flicker, show the wrong colours or ignore commands even though they are bright, the data amplifier goes in at that point to regenerate the signal. The general rule for both problems is to plan injection and amplification points where the run naturally breaks, at a corner or a gable base, so the extra cables are short and hidden. Our guide on power injection and amplifiers covers the symptoms and placement in depth.
Step 8: Pair the app and set the first night
Plug in the power supply, wait for the controller to boot, then open the app on your phone and follow the pairing steps. The controller needs a 2.4 GHz WiFi network, which nearly every home router provides. Once paired, run a simple all-white test and walk the full roofline to confirm every puck lights and every connection holds. If a section is dark, check that the twist connector before it is seated and that the piece is oriented the right way.
- Set a schedule that turns the lights on at sunset and off at a fixed bedtime hour; the app can follow local sunset so the timing shifts through the year.
- Choose a default everyday scene, usually a warm white or a soft accent colour at moderate brightness, and save it before you start experimenting.
- Create zones if your controller layout allows it so the front, sides and gables can be lit separately.
- Name the scenes you build for holidays and occasions so you can call them up from the street without scrolling.
Safety, from the ladder to the outlet
- Set the ladder on firm, level ground at a safe angle, keep three points of contact, and never reach sideways past your belt buckle; move the ladder instead.
- Keep every part of the ladder and every tool well clear of the overhead service drop where hydro enters the house.
- Work only with the power supply unplugged when making or breaking connections, even though the track side is 12 V.
- Route cords so they cannot be pinched in a door or window and so they are not a trip hazard on steps.
- If you are not comfortable working at height on a two-storey home, hire it out. Installers on our pro program do this every week and the kit carries the same 5-year warranty either way.
Take your time on the first run and the rest of the house goes quickly. A single-storey front takes most homeowners an afternoon; a two-storey with gables and a garage return is a comfortable weekend with a helper. Once it is up, the yearly effort is opening the app in November, and that is the whole point.
Frequently asked questions
Do I need an electrician or a permit to install a permanent LED lighting kit?
Not for a standard residential install. The 150 W power supply and WiFi controller plug into an existing outdoor GFCI outlet, and the track runs on 12 V. You are plugging in a listed low-voltage device, not adding house wiring. If you need a new outlet installed, that part is an electrician's job.
What do I mount the track to, the soffit or the fascia?
Either works, and it depends on your house. Most installs go on the fascia board just under the drip edge, which puts the pucks in a straight line and gives you solid wood behind the screws. Mount to the soffit when the fascia is not accessible or when you want the pucks to graze the wall below. Avoid screwing into vented aluminum soffit with nothing behind it.
How do I know if my run needs power injection or the data amplifier?
Plan it in advance based on length and branching, and confirm on the first test. A run that gets dimmer or shifts colour toward the far end needs power injection. A run that is bright but flickers, ignores commands or shows wrong colours at the far end needs the data amplifier. Both are easiest to add at a corner or gable base.
Can I add more track later, for the sides or the backyard?
Yes. The system is modular, so you can extend an existing run with more track pieces and extension connectors, or start a new branch from a T-connector. If the addition makes a run long, add a power injection point and, if needed, the amplifier at the same time.
What happens to the kit in an Ontario winter?
The aluminum track, sealed pucks and twist connectors are designed to stay up year round through snow, ice and freeze-thaw. Keep connections tucked out of the weather, seal screw heads on wood fascia, and keep the power supply and controller in a sheltered spot. The kits carry a 5-year warranty.
Stock up
Everything in this guide ships from London, Ontario.
Installer-grade C9 bulbs, socket wire, SPT-2 spools, plugs, clips and 12V permanent lighting kits. Free Canadian shipping over $500.
Keep reading
Permanent lighting · 9 min
Power Injection and Data Amplifiers Explained: Why Long Permanent LED Runs Dim, and How to Fix It
A plain-language explanation of voltage drop and data signal loss on long permanent LED runs, the symptoms of each, what the power-injection T, 20 ft power extension and data amplifier actually do, and how kit contents scale with roofline length.
Permanent lighting · 9 min
Permanent vs Seasonal Christmas Lights: An Honest Comparison for Canadian Homeowners
A straight comparison of a permanent 12 V track kit and a seasonal C9 display on clips: what each costs in general terms, the labour every year, how they look in daylight, colour flexibility, how they hold up in Ontario winters, and when each is the right call.
Planning · 9 min
How to Measure Your Roofline for Christmas Lights and Permanent LED Track
The tools, the technique for eaves, gables, peaks and returns, the allowances for corners and offcuts, and how to turn a total in feet into C9 bulbs at 12 inch spacing or a permanent kit size, with a worked example for a two-storey Ontario home.